Personalization Hack: How to Use Convert as a Quick Deploy CMS During This Pandemic
One effect of massive stay at home orders worldwide is a change in people’s online behavior. More people are watching Netflix and YouTube on desktop devices compared to mobile devices. As lockdowns extend worldwide, people will turn to the internet to seek entertainment, food, medical supplies and other ways to stay in touch.
With many people using the internet for nearly everything, website traffic is expected to go up. AT&T reports that Netflix streaming traffic reached a record high on its network in March. This spike in traffic is not limited to video streaming services. Ecommerce stores experiencing a surge in patronage will struggle as traffic to their websites increase. And with Dev resources channeled towards dealing with the site upgrades and more traffic, content and other messaging for customers may be pushed to the background.
Rather than waiting on the webmaster or Dev Support and submitting multiple requests, you can make changes to your website using Convert Experiences as a Content Management System. This saves you precious time and gets valuable information to your customers with no delays.
This is possible through personalizations.
Personalizations allow you to change and deploy content on your website to target a specific group of people. It’s not the “official” road to deploy new changes to the website, but in time of need you can use this “hack”, but say you run an ecommerce store that sells medical supplies and you’re unable to fulfill orders in farther off places because of lockdowns. You can create a banner that shows your current delivery zone or change delivery information on your page and target people outside your new delivery zones when they visit your website through personalizations.
Let’s dive in!
Content on a Single Page
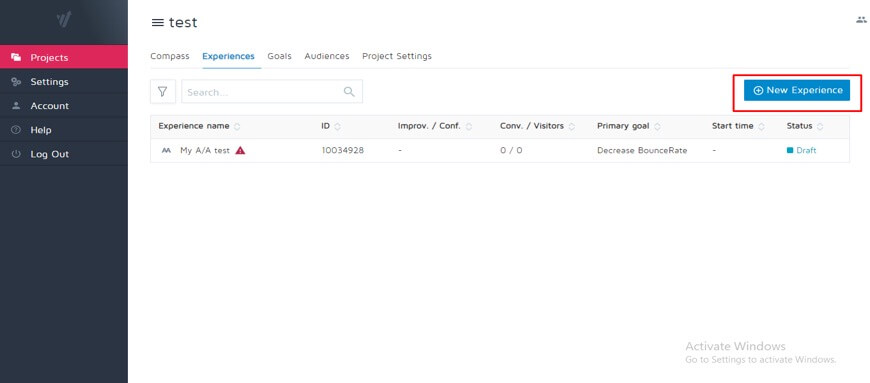
You can make changes to your content on a single page. Log into your Convert Experiences account. Click on Experiences and select ‘New Experience’.
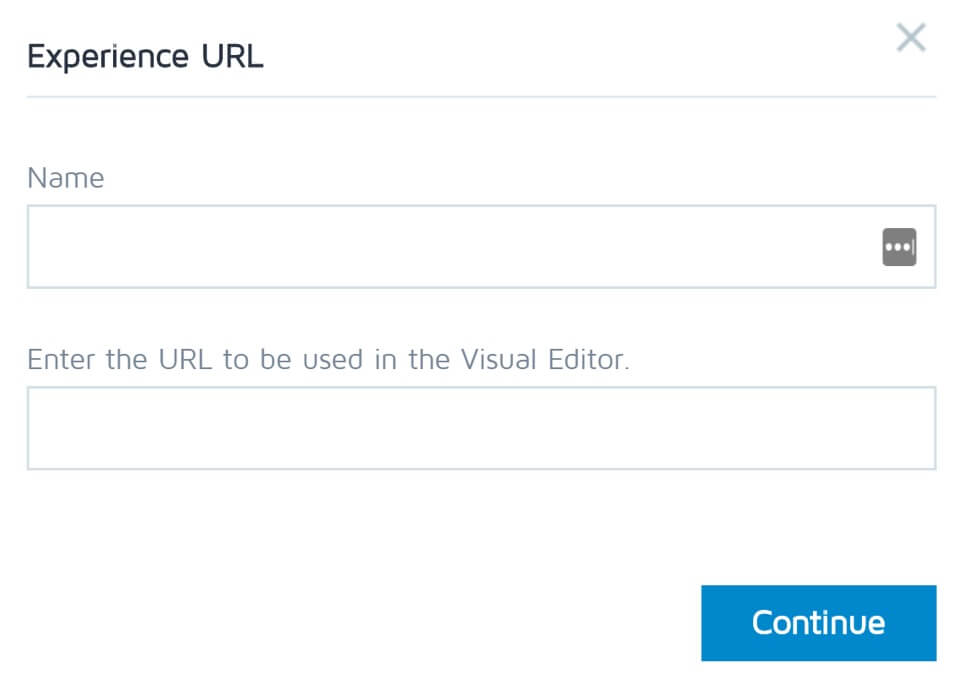
Fill in the name of the experience and the URL of the page it goes on. In the example above, you can name the personalization ‘Delivery Zones’ and add the page URL where this personalization will be deployed.
Click Continue and head over to the visual editor to create the changes you need to.

Click on Continue and head over to the Audience section to select who your new changes will be targeting.
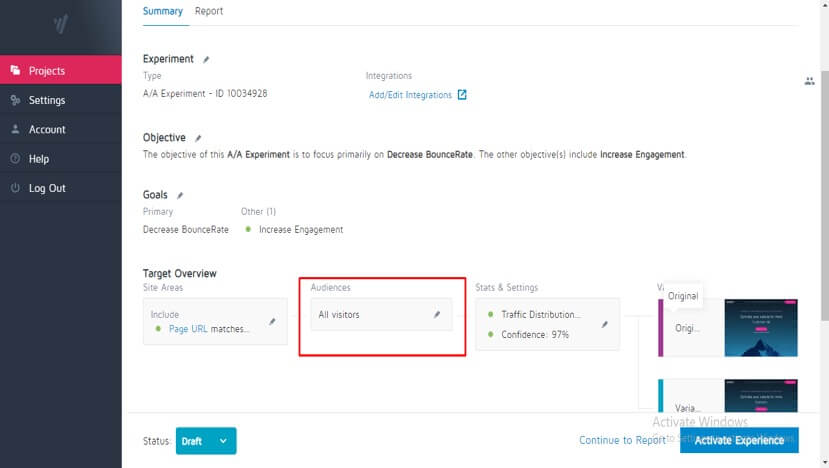
In the Audience section, you can select an audience from the presets, saved audience or create a new audience from the audience tab on the upper right corner.
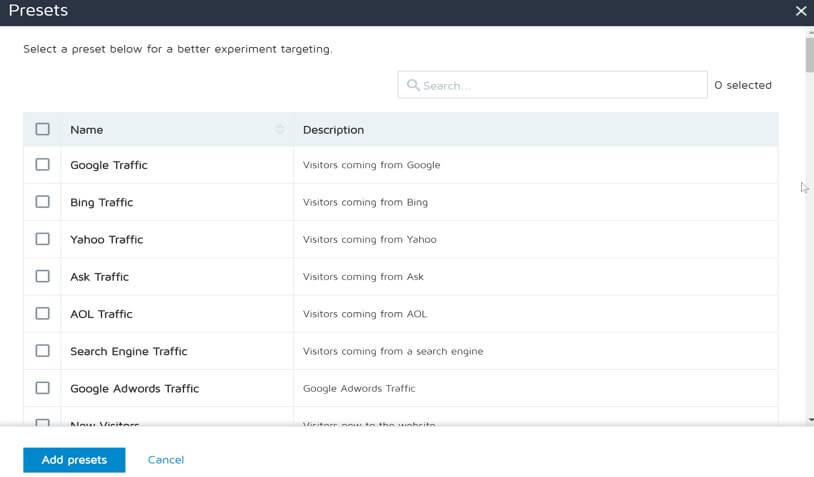
To build a custom audience for your personalization, select New Audience. Fill in a name for your audience, choose audience type and add the traffic sources. In the medical supply store example, you can use city codes to include visitors outside the delivery range and show them the delivery information through a personalization.
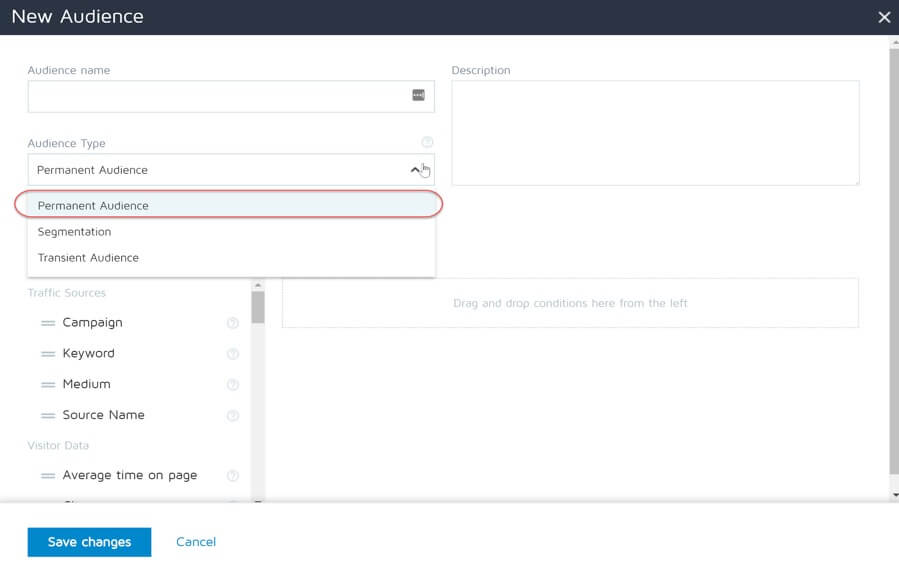
Save your changes and launch your personalization to show for the audience you’re targeting. One of the best examples of using personalization in our tool comes from My 1st Years, a baby focused ecommerce store that delivers worldwide but has adopted a new approach because of the current pandemic. For select books, they have the following personalization to show their delivery zones.
Content on Multiple Pages
But using Convert Experiences as a CMS isn’t just limited to changing content alone, you can also modify the set of pages and menu on which the content lives. Say you want to move your customer support button to a more visible part of all your product pages to make it easier for new users with questions to reach you. You can easily do this via Convert Experiences.
Log into your Convert Experiences account and follow all the steps to create a personalization. In the visual editor, make the changes you want and save them. In the above example, it will be to move the “Contact Us” button to the top of the page where it’s more prominent. Then target the personalization to other pages with a general URL like product pages. Launch the personalization like normal and all the pages in the category that match the criteria (the URL) will change as well. This is how you can serve the same personalization across multiple pages.
Also you can use page tags to match CMS data such as page category. And target those as described here.
Conclusion
Personalizations have always been important tools in marketing. Leverage them to save time and get the right message to your customers right now. While this is not a long-term solution (as personalizations eventually need to be coded up and deployed properly, it gives the space to your tech team to focus on the most urgent things at hand.


