Exposing your n8n workflows as MCP tools any AI chat can call, including the sub-execution trigger that trips everyone up


If you’ve been following my tutorials, you’ll know how easy it is to create your own custom workflows in n8n.
We’ve built workflows to verify research claims in marketing copy as well as workflows that generate JavaScript for experiments, and there’s plenty more to come.
These workflows are centralised, easy to manage and maintain, and, most importantly, they’re ours to own. That means they’re not locked into any third-party vendor.
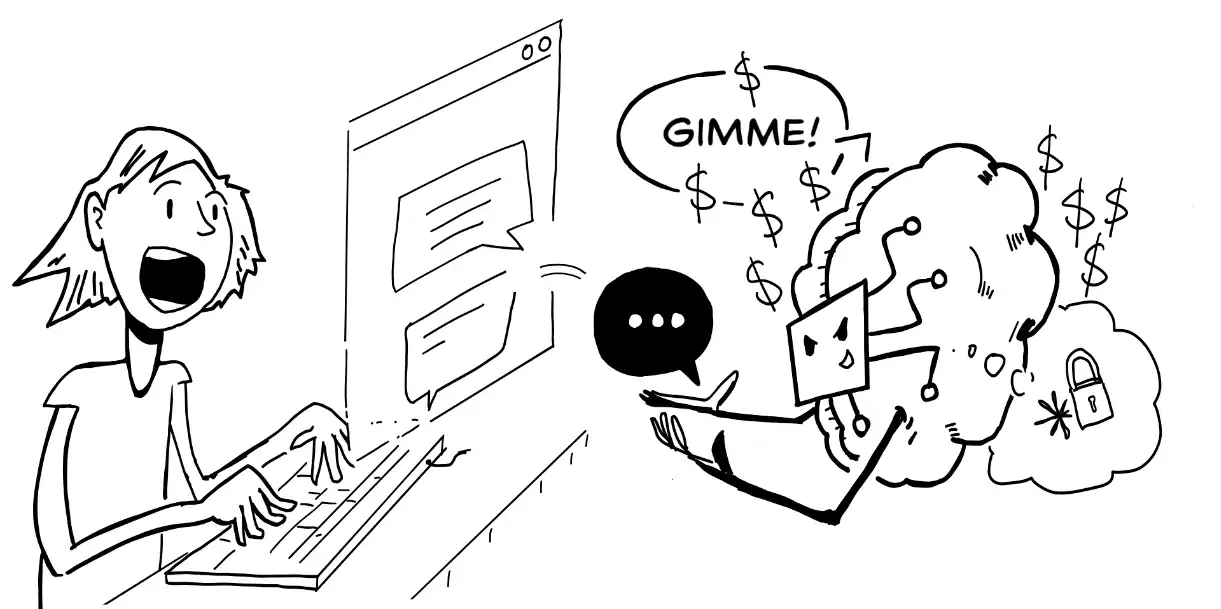
But let’s talk about access. How can we use those workflows easily and reliably in our day-to-day work?
We could set up forms or other inputs for each workflow, and we have done exactly that for some of our n8n workflows. They’re great solutions and genuinely useful. But they also create a rollout challenge. Everyone has to use a prescribed method to trigger each workflow.
What if, instead, we could enable our AI chat interfaces to trigger those workflows directly? Then, whenever we or anyone else in the organisation asks AI to do something, such as create an experiment, it would automatically use our optimised workflows instead of relying on the chat interface’s own black-box methods.
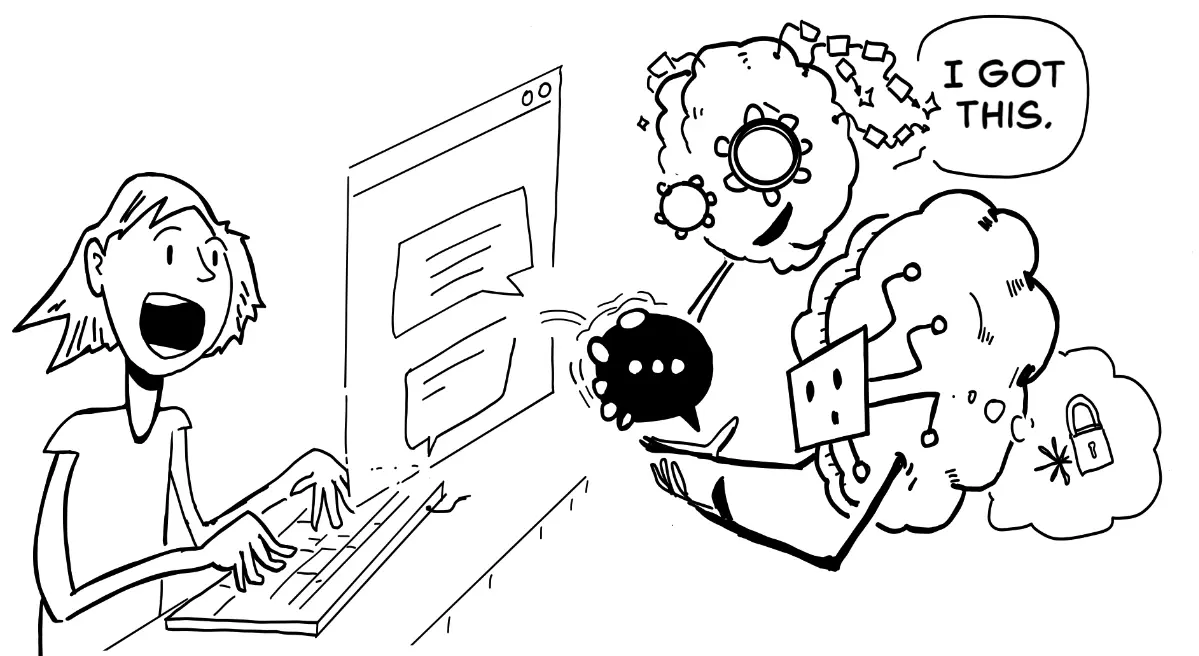
This effectively levels up our AI chat clients without tying us to a specific platform.
Today, we’re going to look at one way to make that happen by creating our own MCP (Model Context Protocol) server. I’ve already explained MCP in a previous article, so I won’t cover it in detail again here. In short, an MCP server acts as a translation layer between our workflows and the tools that want to use them. In this case, those tools are AI chat interfaces.
It might sound technical, but it’s actually quite straightforward. You don’t need to be a developer. As long as you follow the steps in this guide, you should have everything up and running in no time.
Let’s get started.
A simple example
Let’s take a simplistic example of a workflow. Here we have an “Edit fieldset” node with a “text” field that is sent to a “Basic LLM Chain”. The Basic LLM Chain takes this text and translates it into Spanish (using our AI prompt). We’ve saved this as “Simple Workflow Example”.
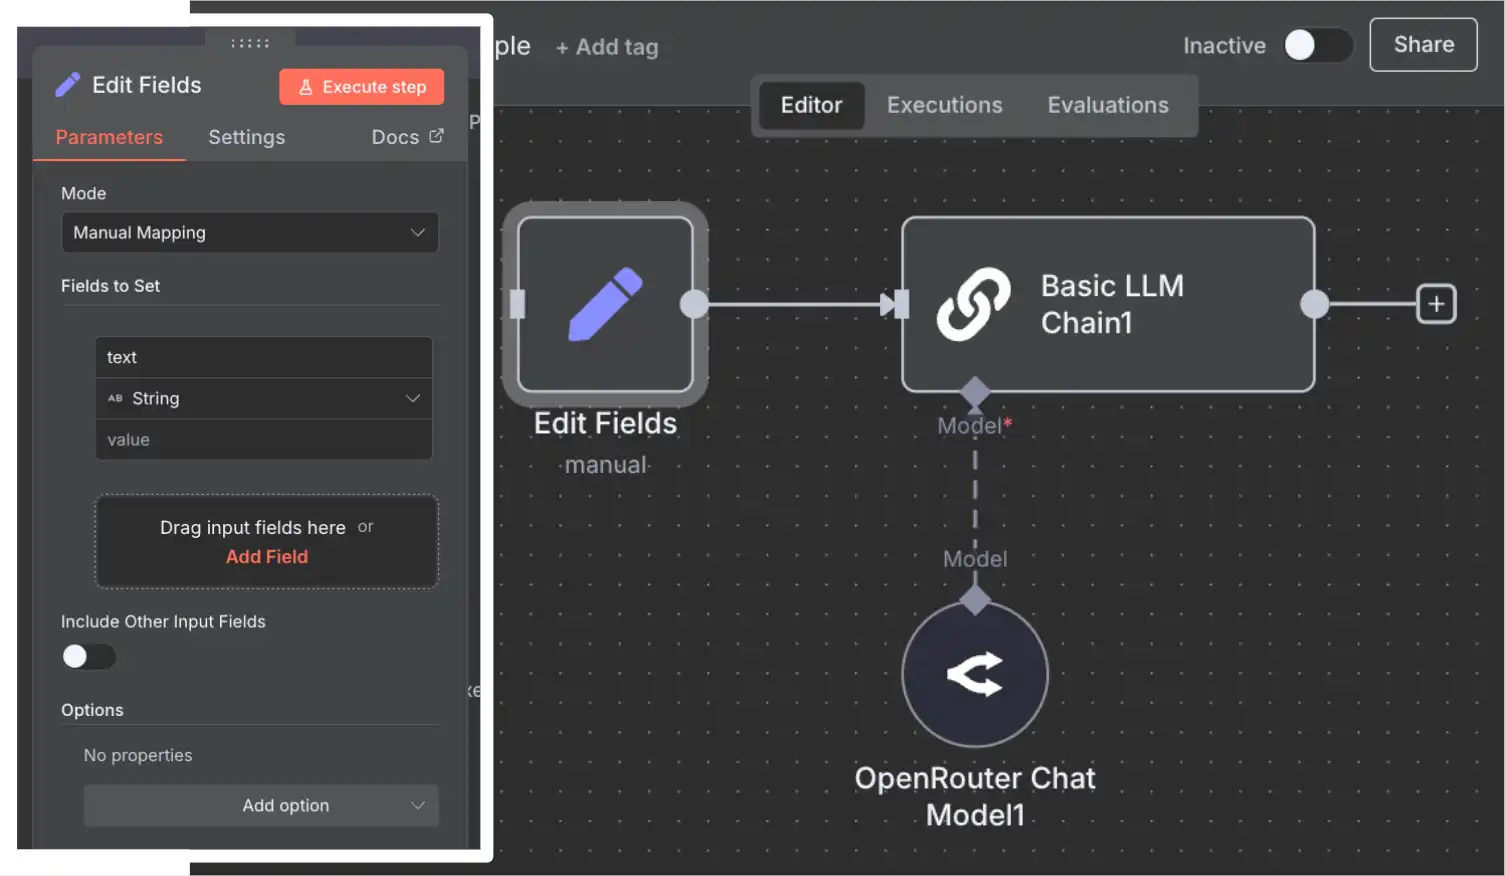
Now, let’s create an MCP server to access that. And though we can technically create an MCP server within the same workspace, we’re going to create a new workflow for our MCP server instead. This keeps things simple.
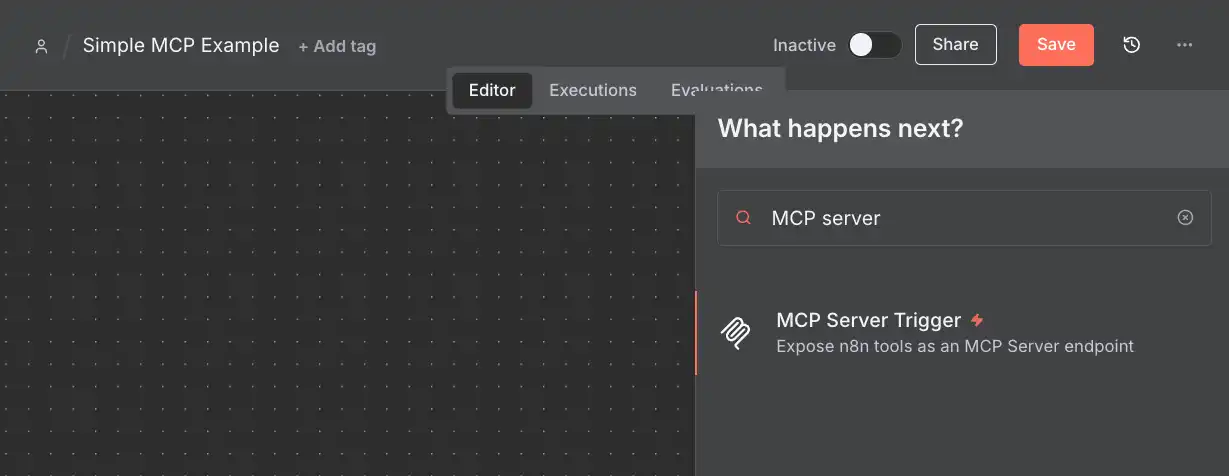
In this new workflow, we’re going to search for the MCP Server trigger. Notice straight away, it gives us URLs to access the server. Once we enter this URL as an MCP Client, this server node becomes a gateway. More on that later.
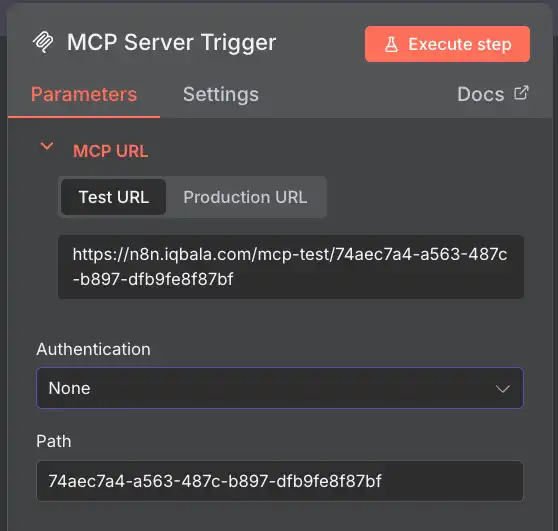
For now, let’s add our Spanish translator as a tool. Tools are subnodes of the MCP server trigger node, and notice that we have a limited number of tools at our disposal. The tool we want to add is the “Call n8n Workflow Tool.” This allows us to call any workflow we’ve created.
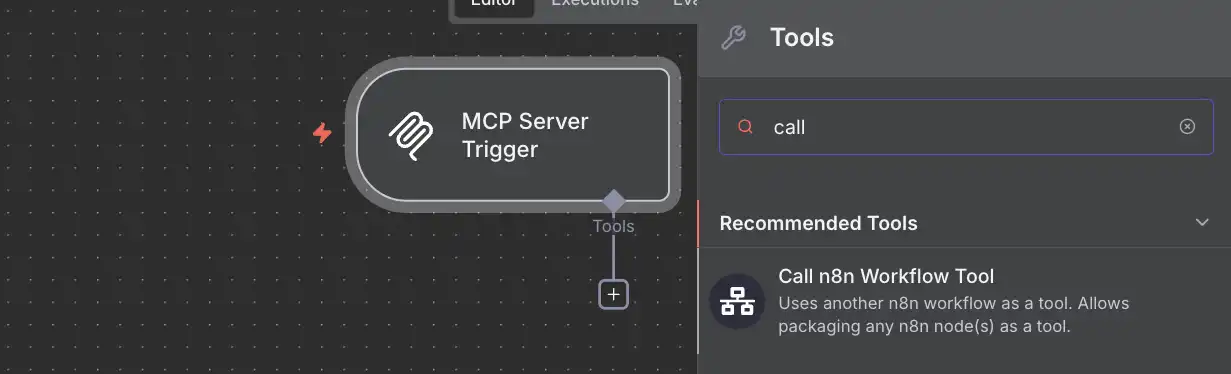
In the settings of the “Call n8n workflow” sub-node, we need to specify which workflow to access. In our case, it’s “Simple Workflow Example” that we saved earlier.
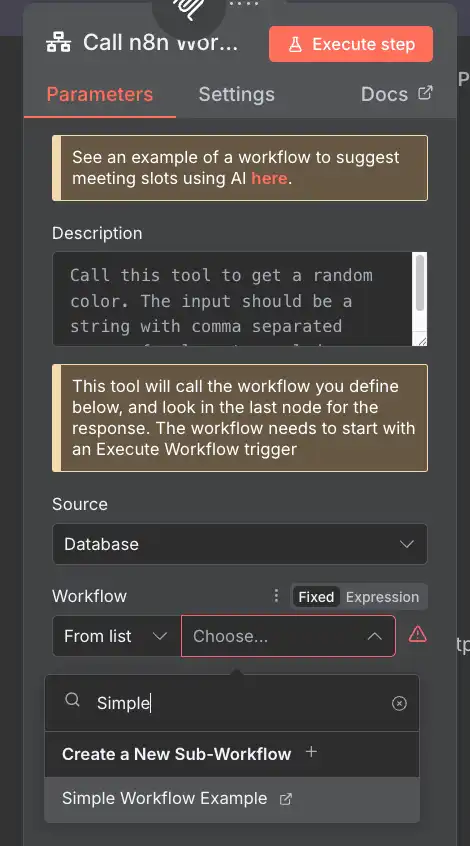
Uh oh. What’s this? A problem?
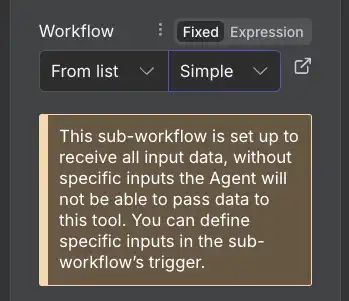
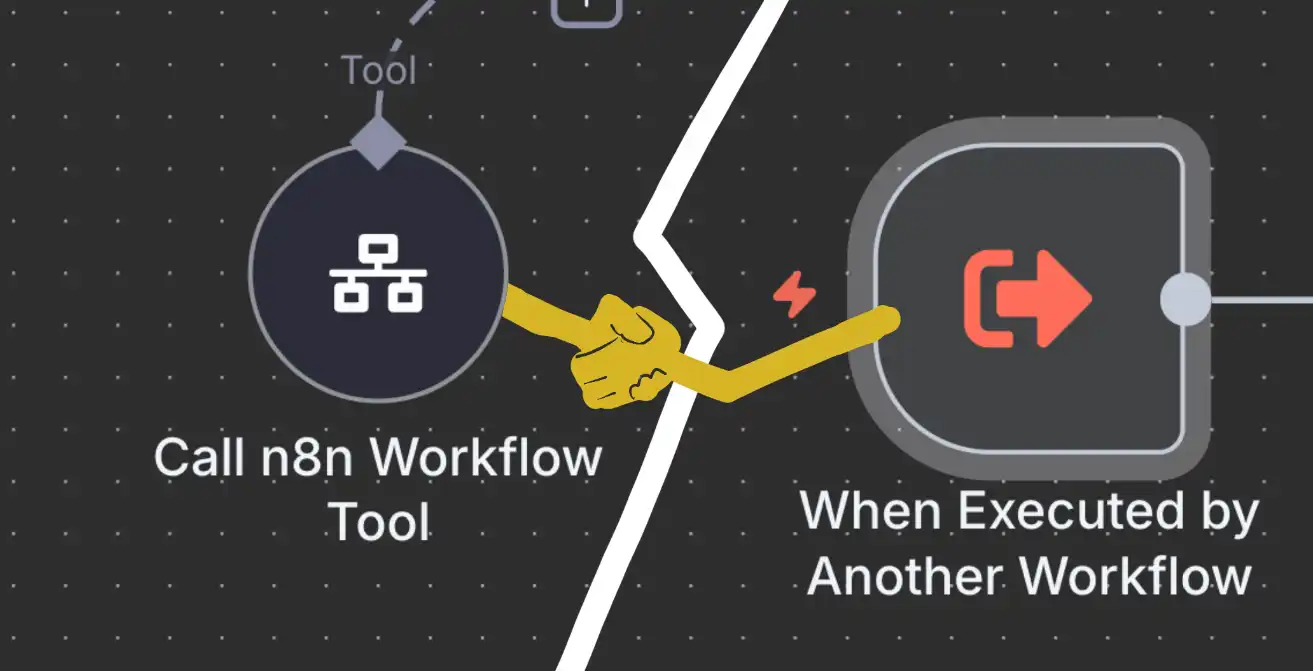
What’s happening here is that the tool wants to connect to our simple workflow, but all we have in it is an edit fields node. It’s looking for the right type of “connection.” So, let’s go back to “Simple Workflow Example” and add a sub-execution trigger, because that’s what the “Call n8n workflow” is looking for.
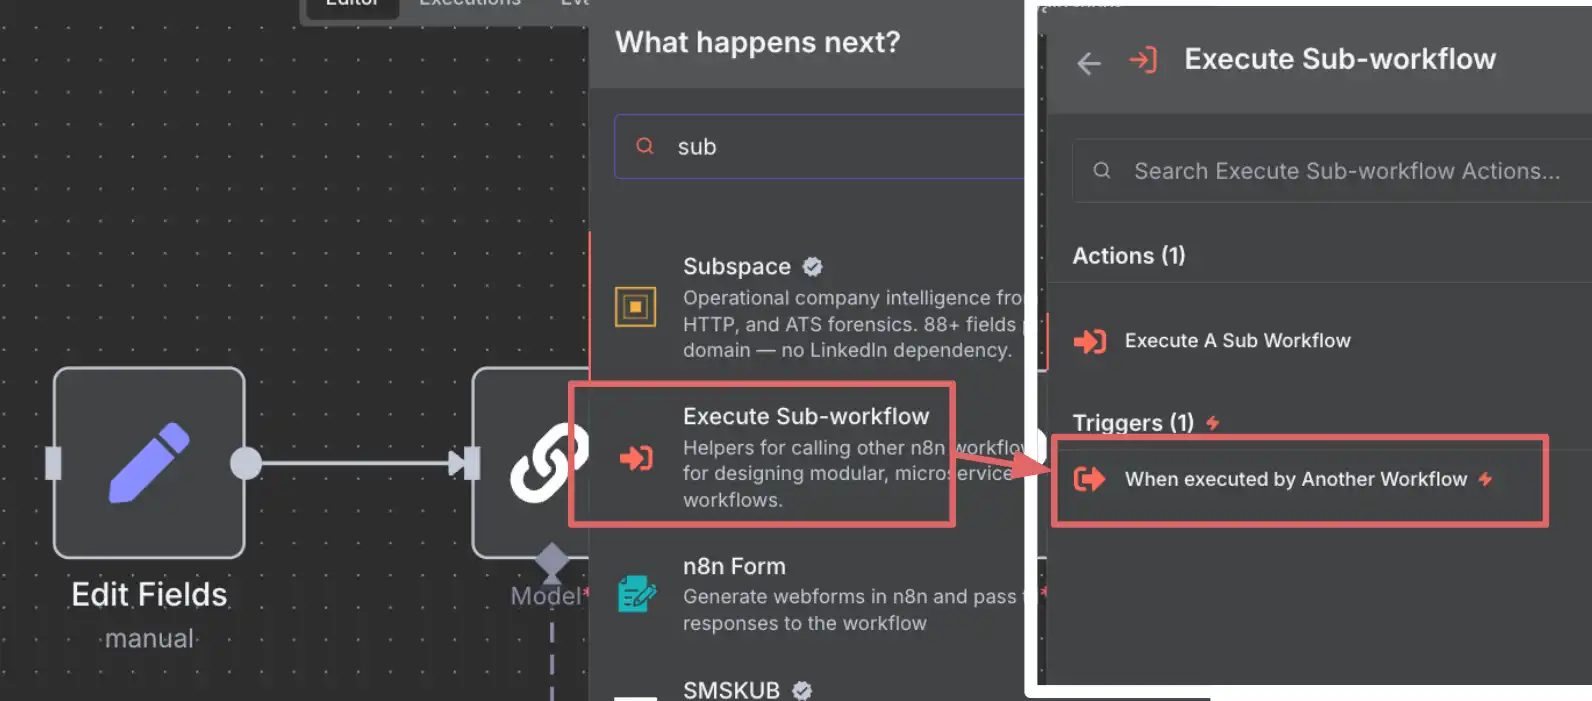
Search “Execute Sub-workflow”, and select “When Executed by Another Workflow” under triggers.
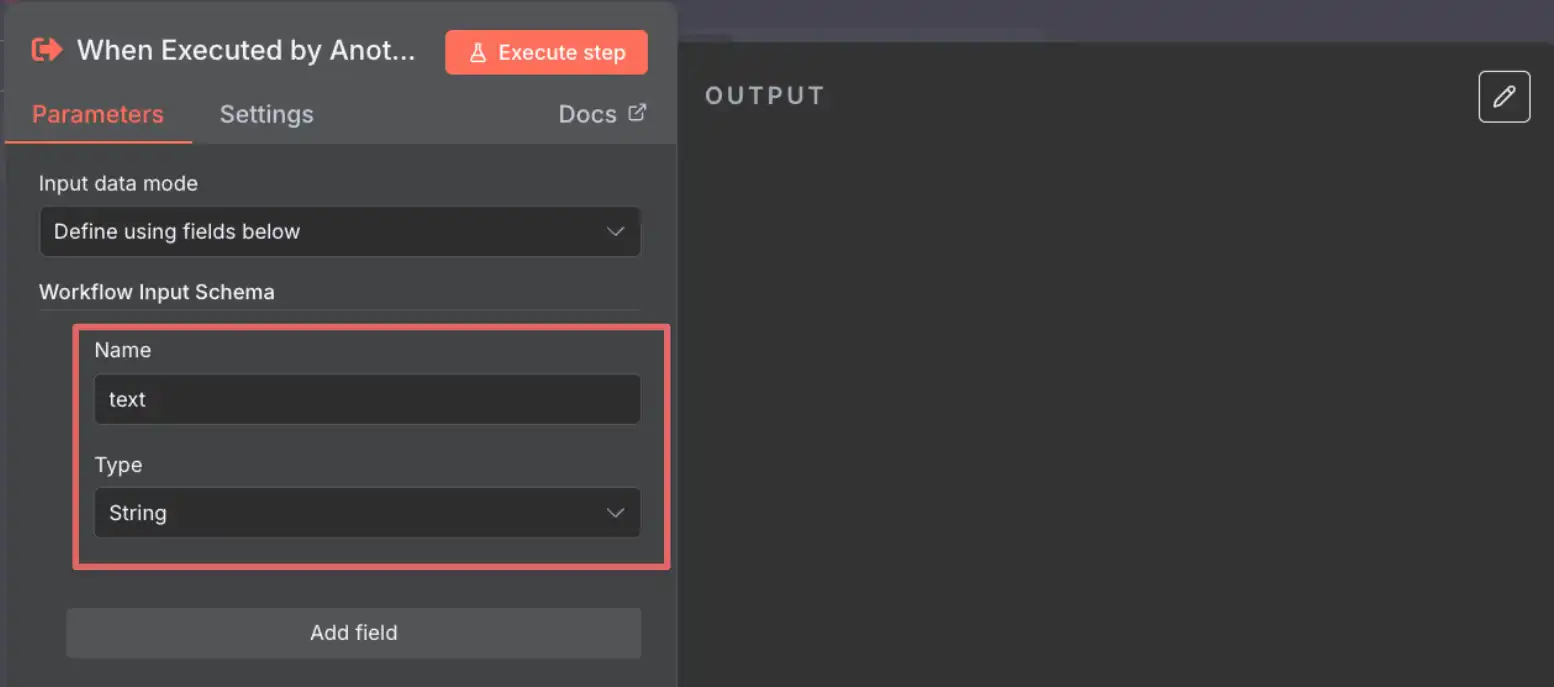
When we add this node, we’ll need to set parameters. What are parameters? Think of these as the content the workflow needs to work with. For example, we’ve got an edit fields set with a “text” field that is sent to the Basic LLM Chain.
We need to replicate this in the parameters here: name the “Add field” “text” and set its type to String…
Note: We can go ahead and set up any other fields we need to send to our workflow. But this is a simple example, so we don’t need anything else.
Save the workflow, and head back to the MCP Server Trigger workflow. Refresh the page, open the tool, and…
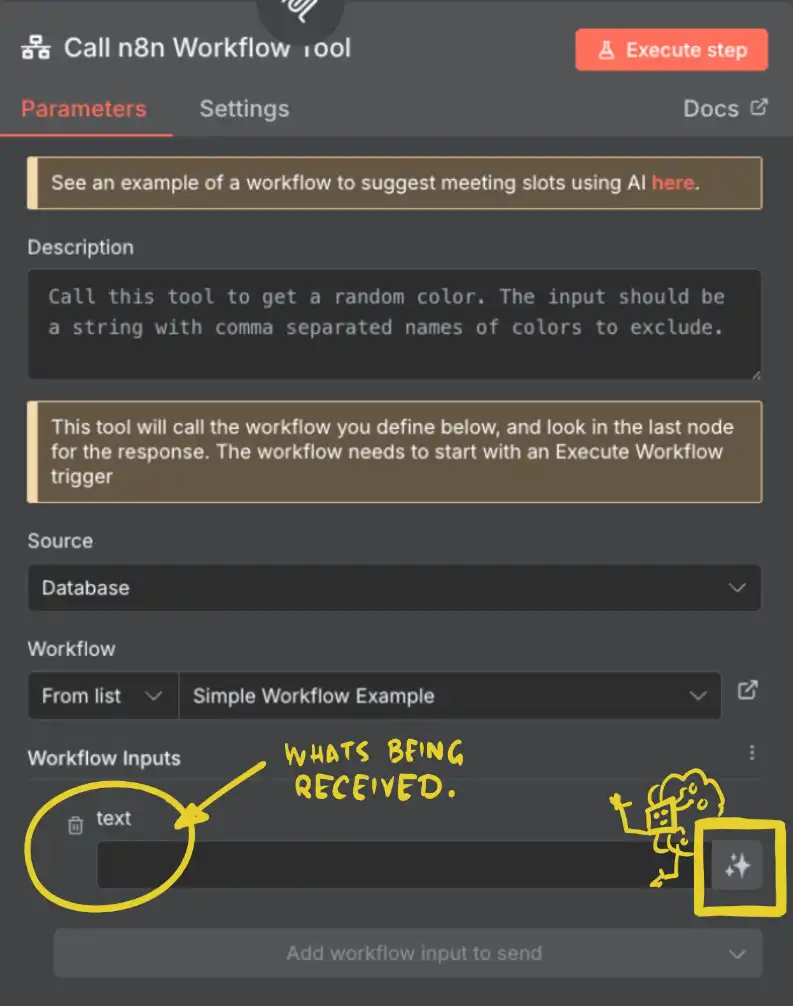
…bingo, when we select our Simple Example Workflow, our text input is available. This is a handy way to tell anyone who wants to connect to this tool that the text field is required. For this field, we want to set it to let AI define the text.
We also need to set a simple definition and title:
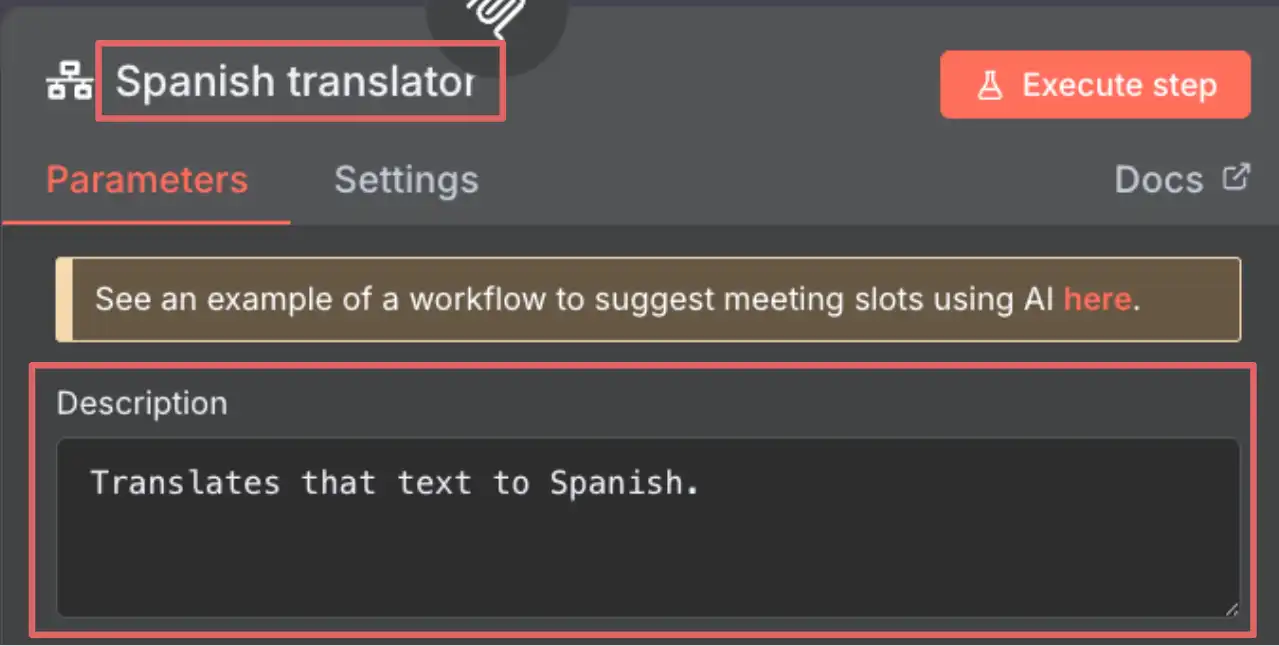
This way, the MCP server knows to request that “text” be translated by whatever tool (MCP client) wants to use the service; it provides that information to the client, and the client knows how that tool works.
To test this, hit “Execute step” on the tool, and it will ask for text. This is no different from what an LLM would face when trying to use the tool. Enter some text, “Goodbye”, and we get our translation courtesy of our simple workflow.
Okay, all great. How do we use this thing from our chat interface?
Setting the MCP client
Short answer. We need to set the MCP Client configuration file. The basic version looks like this:
{
   "mcpServers": {
        "mcp-server-name": {"url": "address/of/mcp/server"}
   }
}
For n8n servers, the client configuration should look like this:
{

  "mcpServers": {
    "n8n": {
      "type": "sse",
      "url": "your/n8n/workflow/url"
    }
  }
}
Make sure you save the MCP Server workflow before copying and using that production URL.
Now, before accessing, you’ll probably want to protect that endpoint, so back in the MCP server node, set Authentication to “Bearer Auth” and set up the credential. Make sure you copy that credential, as you need to update the MCP Client configuration. The final version of the client configuration is this:
{

  "mcpServers": {
    "n8n": {
      "type": "sse",
      "url": "your/n8n/workflow/url",
      "headers": { "Authorization": "Bearer YOUR_TOKEN" }
    }
  }
}
And if your workflows take a long time to work through, you meat need to extend the timeout.
{

  "mcpServers": {
    "n8n": {
      "type": "sse",
      "url": "your/n8n/workflow/url",
       "timeout": 600000
    }
  }
}
Remember, you may have other MCP servers defined. The key part to add is this:
{
  "mcpServers": {
    "n8n": {
      "type": "sse",
      "url": "your/n8n/workflow/url",
      "headers": { "Authorization": "Bearer YOUR_TOKEN" }
     }, ... other mcp configs ...
  }
}
If you’re unsure how to do this, feed all relevant information to your AI chat interface of choice and let it generate the client configuration for you.
Taking things for a spin
If you’re using Claude Cowork or Claude Code, just ask it to help you set up the MCP client. For me, I thought it’d be cool to demonstrate this in LM Studio. I have a tiny model running locally that is good at using tools. I set up the MCP client (see previous guide)…
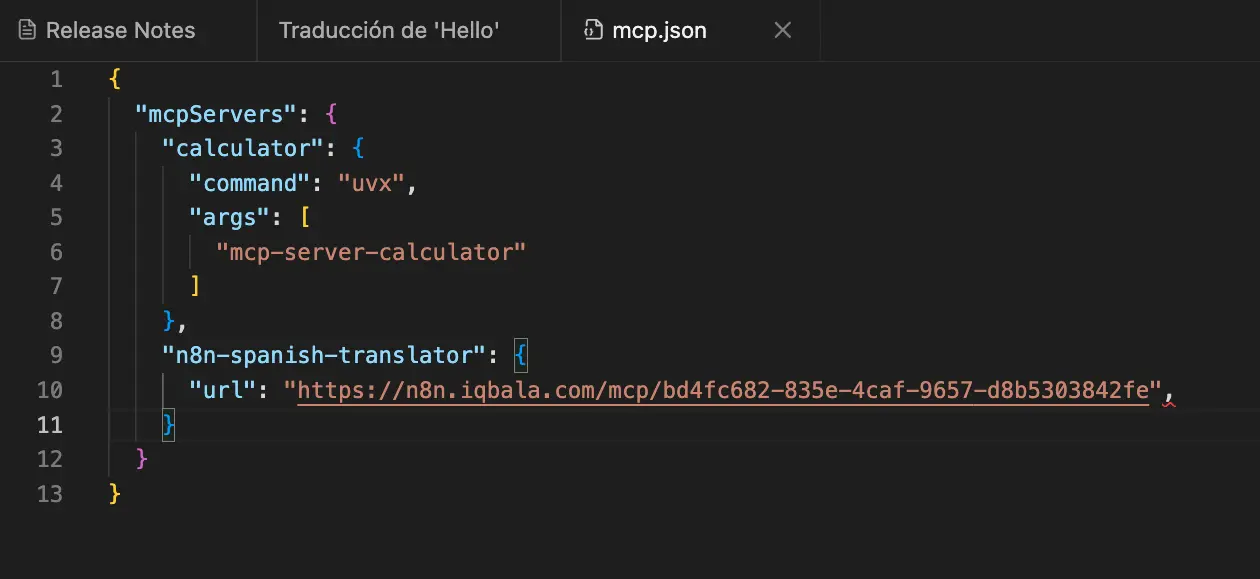
and now my local model has translation powers!
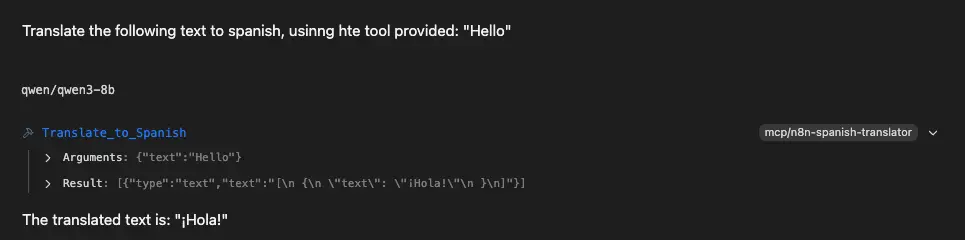
Now, obviously, this is a very simple example, but the same process applies to the more involved workflows I shared with you earlier.
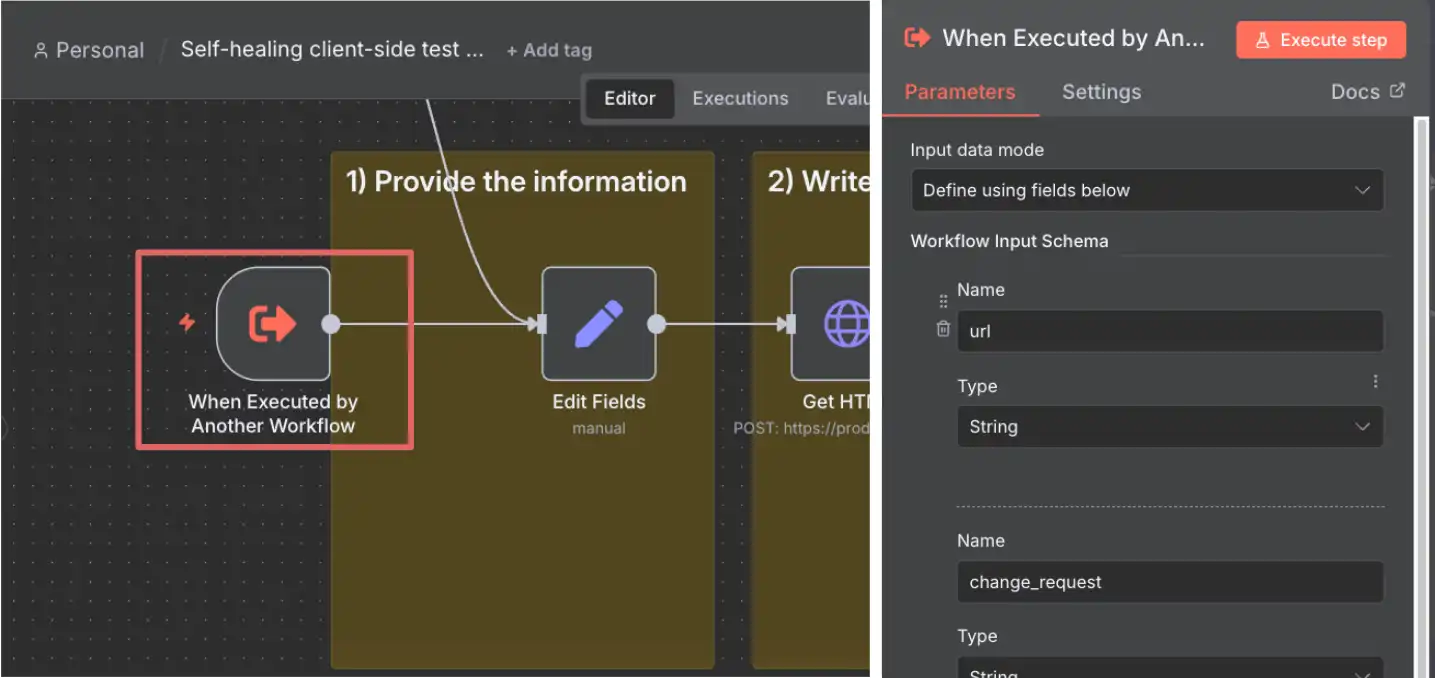
For instance, my experiment code-developing workflow. I set up a sub execution trigger, added the fields needed by the workflow, in this case, the website URL and a change request.
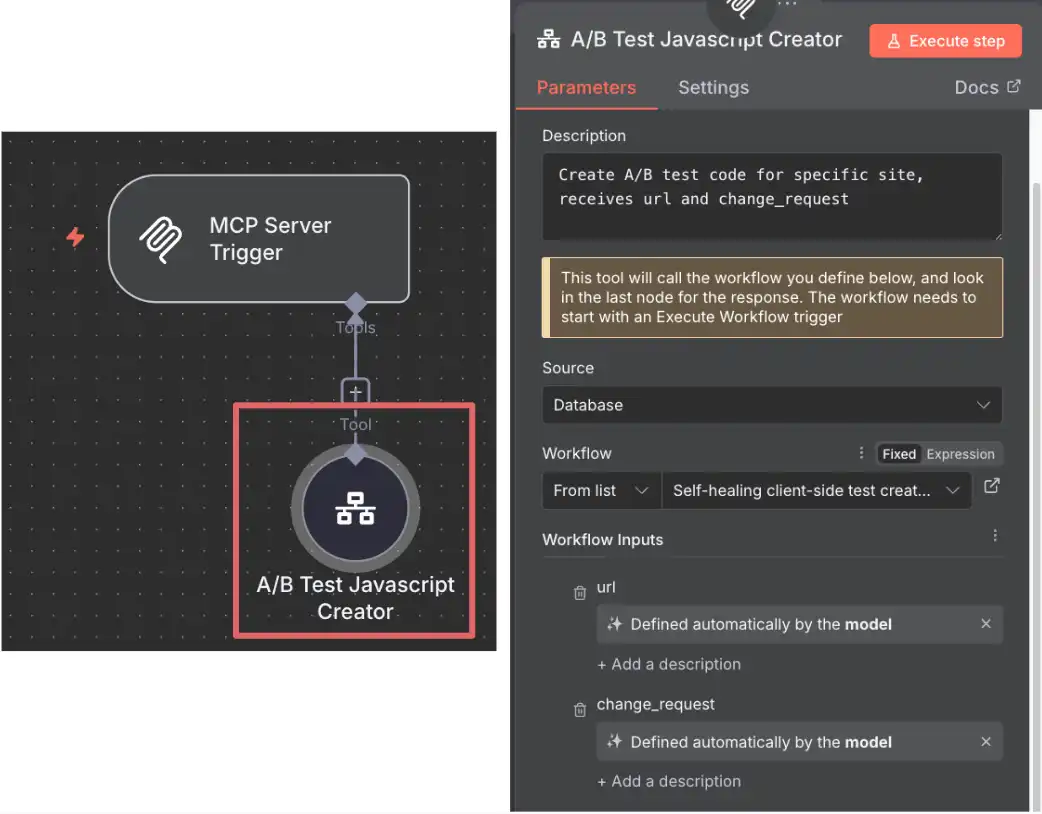
Then updated the MCP Server Trigger to point to the workflow, also updating the name, description, and the inputs.
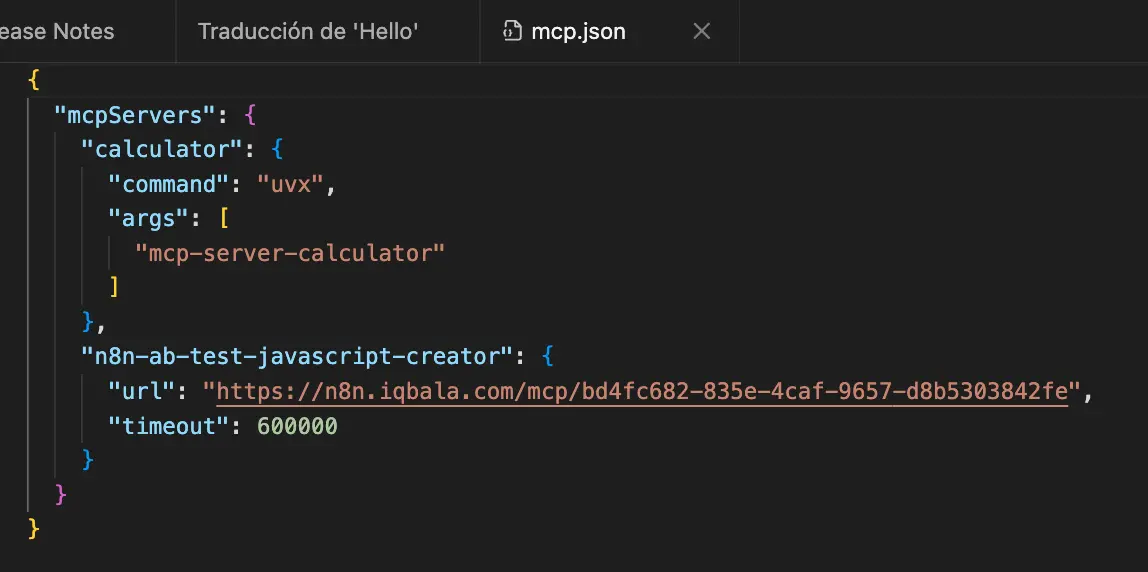
And, finally, updated the MCP client configuration in LM Studio, increasing the default timeout (since the workflow takes a while to work through)…
And now, LM Studio has A/B experiment coding superpowers!
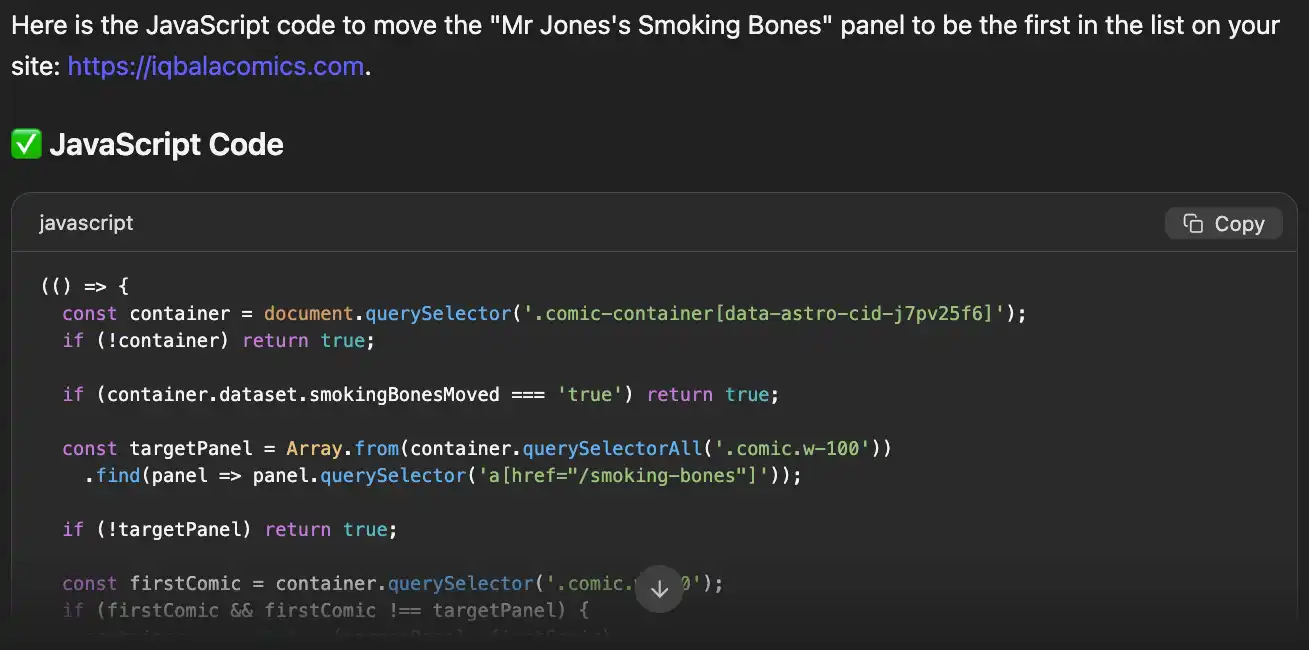
Note: To be honest, rather than having the workflow output to the chat interface, it’s better to have the workflow push data to the relevant places (e.g. push to the experimentation platform, send email notification, add details to Jira). But you get the gist.
Best thing about this, not a single “frontier” model in sight, and the output is orders of magnitude better!
All this is using a single tool. The real power comes when you scale this up. You can create more custom workflows, connect them to your chat interface as tools, and instead of relying on whatever an AI model generates, you can super-charge your AI to ensure high-quality, reliable, and consistent output.
So, are you going to use MCP servers in your own n8n setups? Let me know what workflows you create and how you connect them. Anyway, see you next time.
Editor’s note: This guide is part of a broader series on building practical AI systems. If you’re just getting started, we’d recommend our guides on getting started with AI automation in n8n, building your first AI agent, building RAG workflows with n8n and Qdrant, extracting themes from user feedback with n8n, quantifying themes with n8n, connecting chat interfaces to other tools using MCP, and setting up MCP servers in n8n.
Written By
Iqbal Ali
Edited By
Carmen Apostu