MCP Demystified Part 2: Setting Up MCP Servers in n8n (Google Sheets & Vector Search)
We previously looked at MCP Servers and learned how they work. We connected LM Studio to a calculator, giving small local models access to actual tools. But things get really interesting when we give our chat interfaces access to n8n workflows.
Imagine accessing n8n workflows from a chat interface, jumping in and out of these workflows seamlessly. Imagine running all of this locally, augmenting small local models with powerful tools, accessing calendars, spreadsheets, or any number of APIs.
Today, let’s learn about MCP Server triggers in n8n.
Here’s what we’re building: an LM Studio connection to n8n:
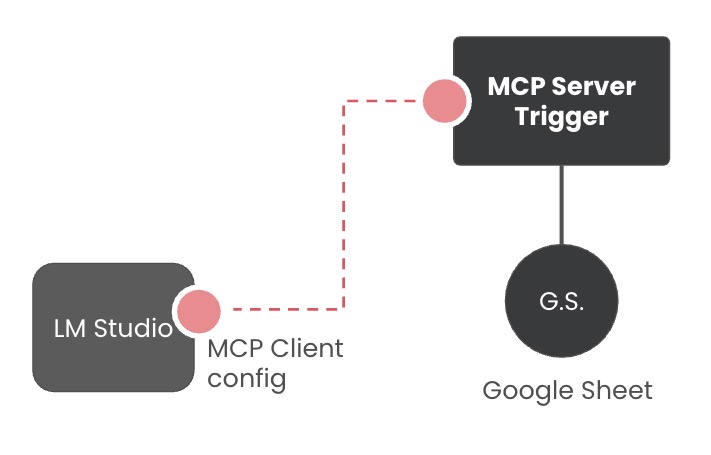
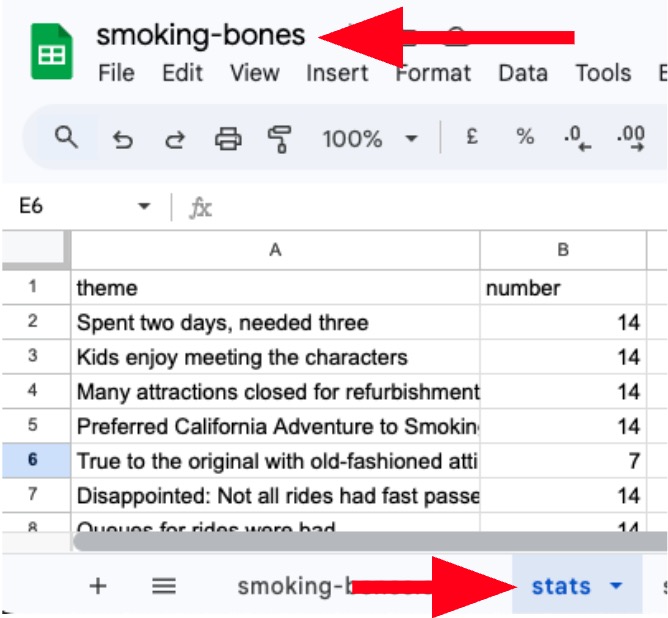
We’ll do this by adding a new MCP Server to the client configuration in LM Studio, this time with a URL to connect to an n8n workflow. This is a simple n8n workflow that fetches data from a Google Sheet, specifically the stats sheet from a previous feedback analysis project we did.
We can then ask a local model in LM Studio to fetch the data; the model will connect to the Google Sheet and fetch it on demand.
So, let’s get started!
Creating an MCP Server in n8n
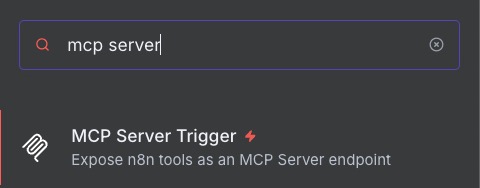
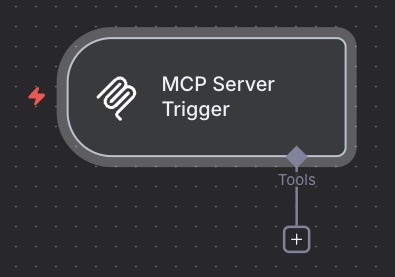
Creating an MCP Server in n8n is absurdly simple. Create a new workflow and search for “MCP Server Trigger.”
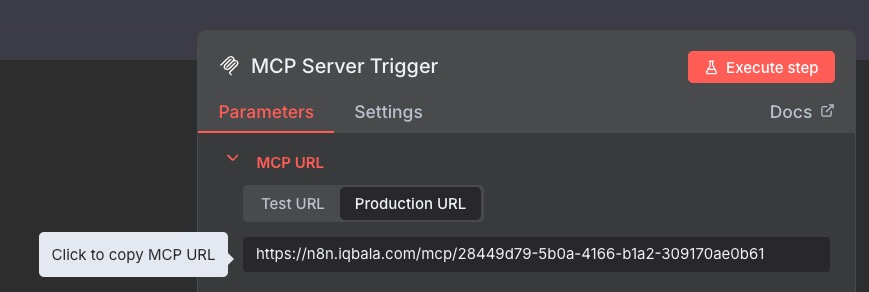
Then, open the trigger to edit it:
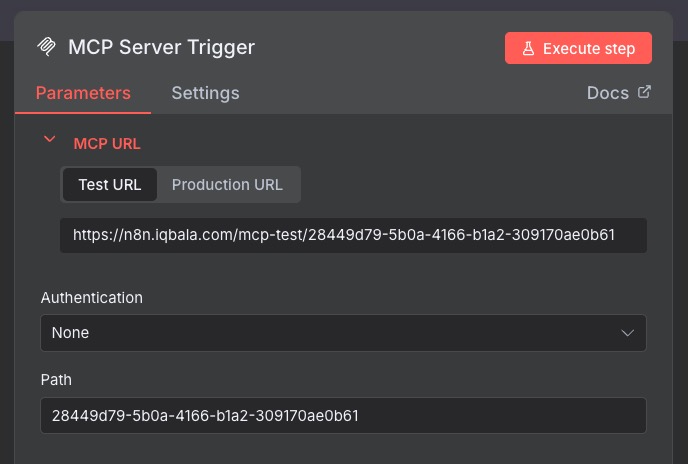
And that’s it. On the edit screen, there’s an area for the URL we’ll need to access the trigger. There’s also an area to set authentication to protect the trigger. We’re going to leave this blank for our test.
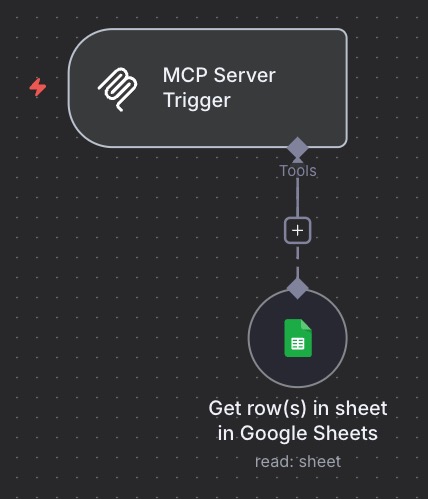
Now our MCP Server Trigger needs Tools:
Add the Google Sheets Tool, which by default will look like this:
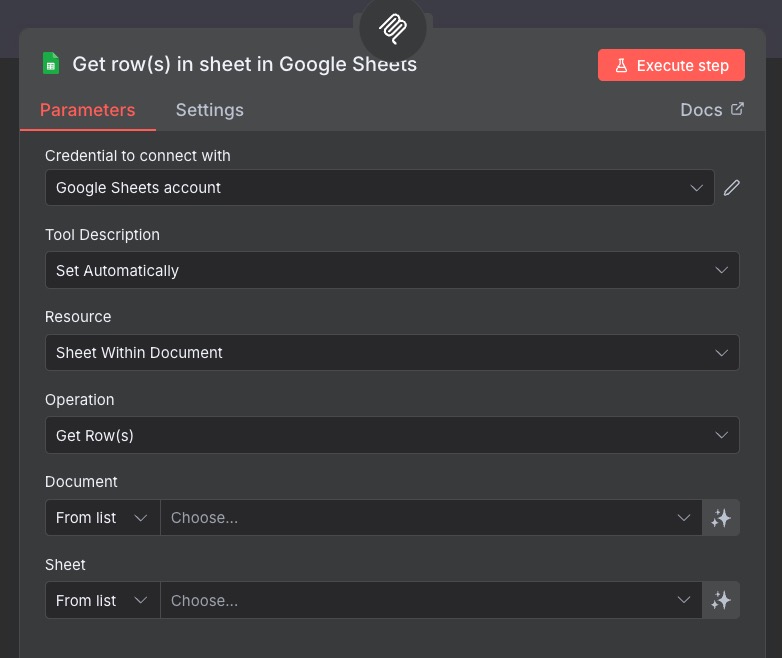
By default, the Sheets node is set to “Get row(s) in sheet in Google Sheets”. There are other “Operations” we can run besides getting row data:
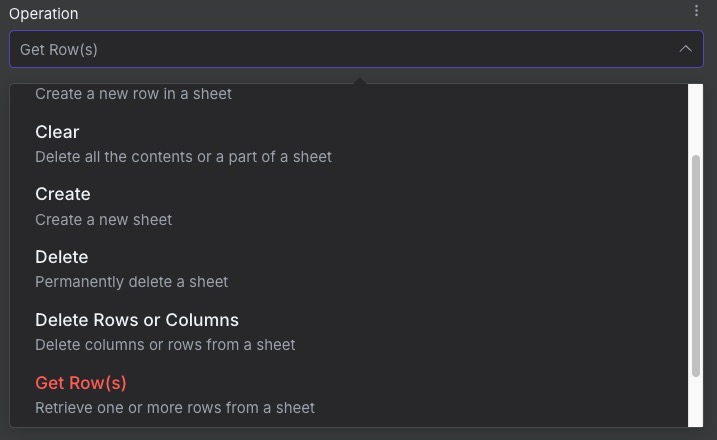
Some of them are pretty destructive! Get Row(s) is good for now.
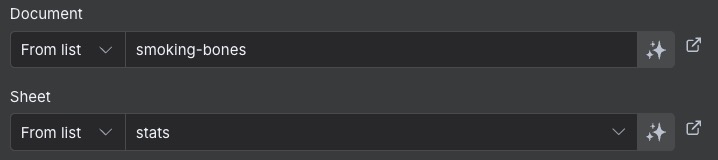
Next, we need to point the tool at a document. Technically, it’s possible to make a document selection dynamic, but I prefer to limit access. Language models are dumb, remember. We want to make it as easy as possible for models to complete their tasks without making mistakes. So this:
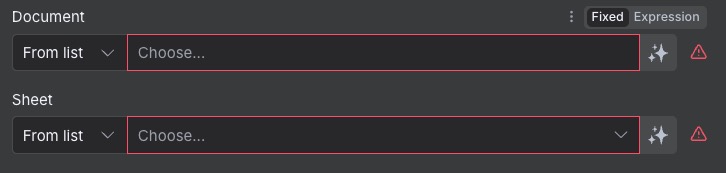
becomes this:
Lastly, notice the Tool Description area:

Every tool in the MCP needs a description. This helps our model understand what each tool does and when to use it. I like to specify the description myself. Since we’re using natural language to trigger its use, I want a description that includes keywords referring to the tool.

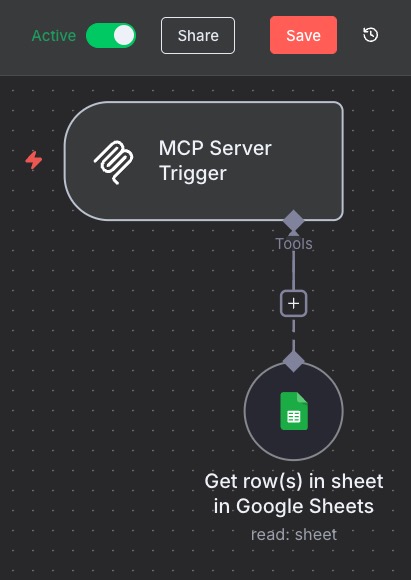
The sheet contains user feedback stats, so I’m happy with this. It’s much more descriptive. The final workflow looks like this:
We can add more tools, but let’s leave things as they are and have our client connect to the MCP Server. Let’s also just make the workflow Active. It’s pretty low-risk. Remember to hit Save.
We can add more tools, but let’s leave things as they are and have our client connect to the MCP Server. Let’s also just make the workflow Active. It’s pretty low-risk. Remember to hit Save.
Configuring an MCP Client in LM Studio
In LM Studio, in the Chat interface area, click on the plug icon, then the drop-down that says “Install”, then “Edit mcp.json”:
You’ll get to a screen like this:
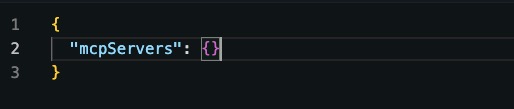
This is the MCP Client config — where we list our MCP Servers. You might already have an MCP Server defined if you followed my previous tutorial. Otherwise, you’ll see an {}.
A file with a single MCP server defined looks like this:
{
	“mcpServers”:{
		“mcp_server_1”:{“url”:”my/url”}
}
}
Whilst a file with multiple servers defined looks like this:
{
	“mcpServers”:{
		“mcp_server_1”:{“url”:”my/url”},
		“mcp_server_2”:{“url”:”my/url”},
“mcp_server_3”:{“url”:”my/url”},
}
}
Basically, each server needs a name and URL at minimum. Go back to your server and copy the production URL:
Then update the mcp.json configuration for LM Studio, so it looks like this:
{
“mcpServers”:{
“mcp-google-search”:{“url”:”https://n8n.iqbala.com/mcp/956436ea-2951-4608-bf1e-566c0e0fee0d”}
}
}
Hit Save, and hopefully you won’t see any errors reported. Sweet! That’s it! Let’s test this out.
Testing the MCP!
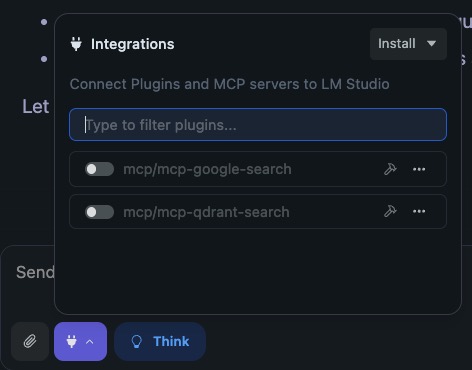
Go to your chat and click the “plug” icon. You’ll see your MCP server listed:
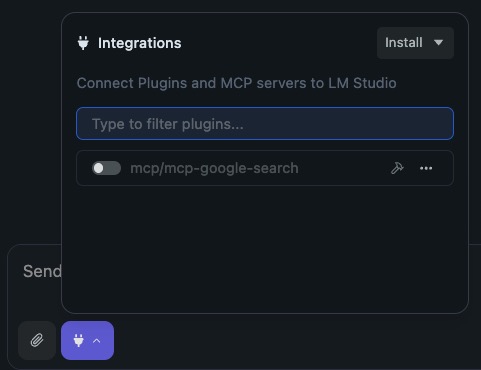
By default, LM Studio makes MCP Servers inactive. So, activate the server:

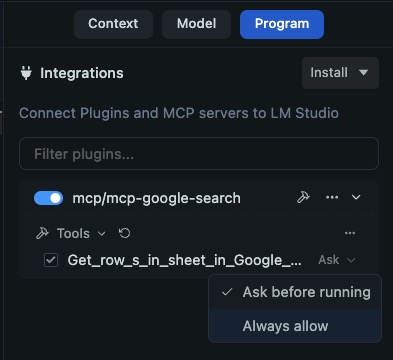
Optionally, click on the hammer icon to see the tools inside. On the right, this panel will appear. The MCP Server is currently set to “Ask”. You can leave it as is, or set it to “Always allow”.
I’m currently alternating between various tiny Qwen3 models. They’re awesome. For this guide, I’m testing the Qwen3 0.6B model in LM Studio. Now, when I prompt:
Prompt: Fetch user data stats from google sheets.
LM Studio accesses the relevant MCP Server (it might ask for permission if the setting is set to “Ask before running”). After that, the call to the tool will appear as an expandable area, along with the data that’s returned:

It’s working! It’s clear that LM Studio now has access to the Google Sheet data and can use that data however it likes!
It’s worth noting that the tools listed in the LM Studio for an MCP Server are the tools that are connected to the Server trigger in n8n.
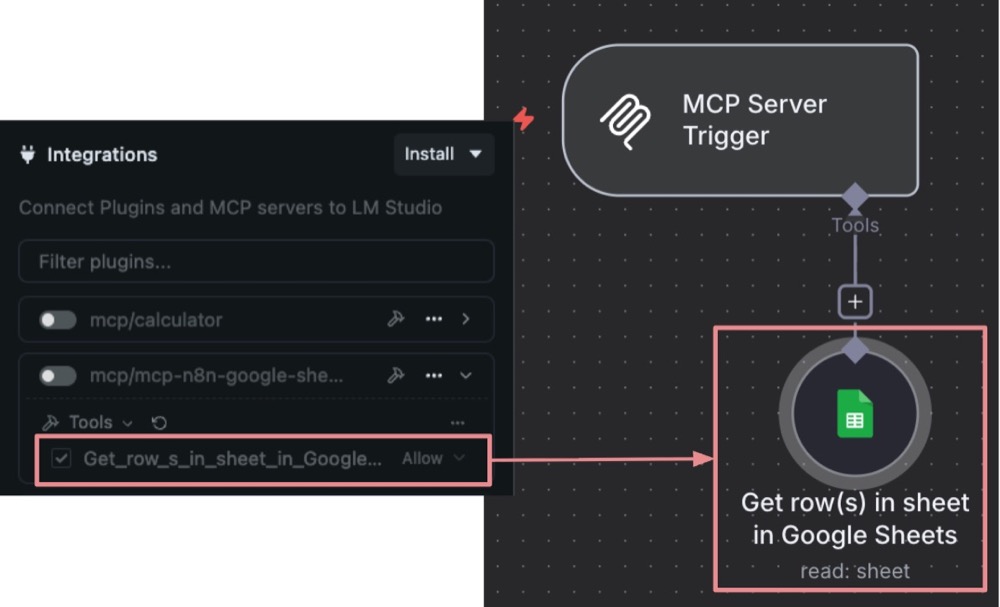
So, adding new tools to n8n means the tools get listed for use in LM Studio. Cool, huh?
Wait, There’s More
This just fetches data, so it’s very much a one-way dialogue.
Now, in a previous tutorial, we connected to a semantic database (specifically Qdrant). We dumped a large volume of user feedback into this database and ran similarity searches on it. This meant we were able to search using theme labels or other non-literal matches.
For instance, we could say: “Get me everything to do with the checkout page.”
And we get results back that are most similar to this query.
To use something like this in our chat session, we need to be able to both send and retrieve search queries. So how does something like this work?
Let’s have a look.
Accessing a Vector Store via MCP
Architecture Choices
Let’s head back to our n8n workspace. We have one server defined with a single tool connected (Google Sheets). Now, we have a choice: create the vector search as a tool in the existing server or create a new server.
What we choose to do is an architectural decision. Personally, I prefer servers with few tools connected. The tools should be related to the server, but distinct from the other tools.
Many tools means many choices for the language model. And that’s never a good thing. Language models are dumb, remember. (And I’m not just talking about small models here.)
Having said that, I think a Google Sheets Stats tool and a semantic search tool are distinct enough to be on the same server. So, if I were creating this for production, I’d treat it as another tool on the same server. But because we’re just playing around here, let’s create a new server so we can practice creating MCP server triggers.
Create a new MCP Server Trigger
In the same workspace, add a new MCP Server trigger. Leave settings as default. Then, for the tool, add the “Qdrant Vector Store” tool. Here’s what to use for the settings:
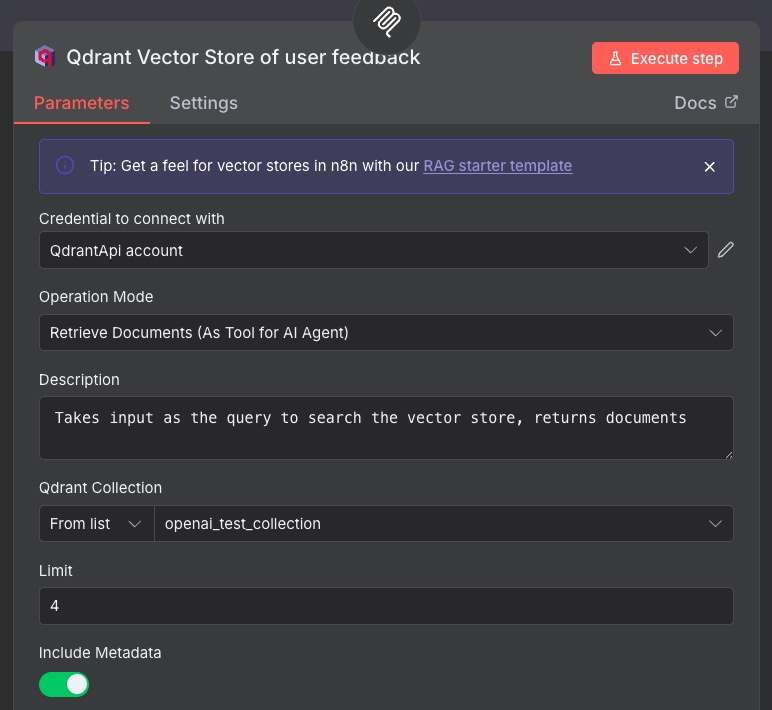
Key areas:
- Operation Mode: Retrieve Documents (this is the default)
- Description: Take input as the query to search the vector store, returns documents
- Qdrant Collection: Connect to our previously created Vector Store
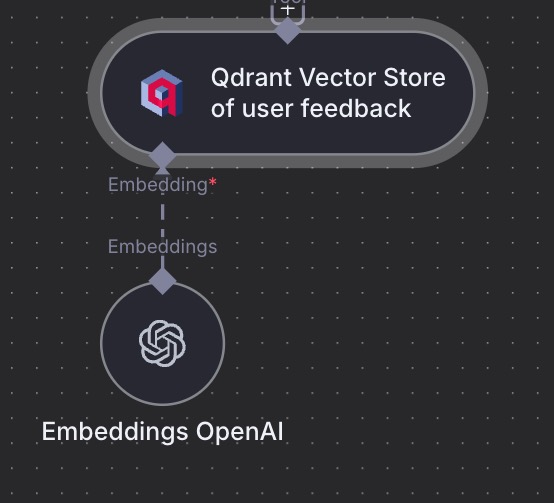
The Qdrant Vector Store tool requires an embedding model to be attached. This needs to be the same model that was used to insert the documents (well, technically, it just needs to have the same dimensions, but the same model is easier).
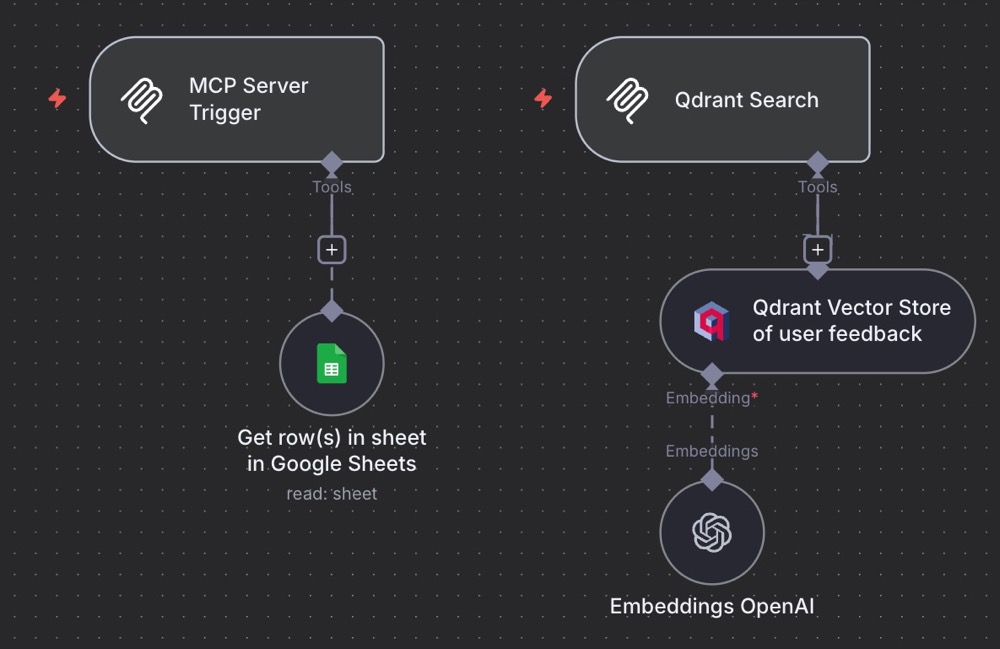
And that’s it! Here’s what the final n8n workspace should look like (I renamed the new server trigger to read: “Qdrant Search”):
To test the MCP Server Trigger, execute the server, enter a search, and you should see some results. Once verified, copy the Production URL:
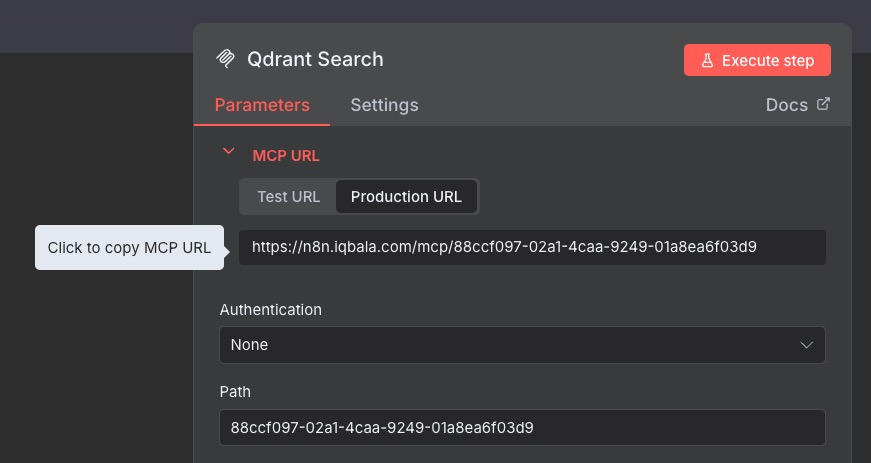
And add it to the MCP Servers list:
{
  "mcpServers": {
    "mcp-n8n-google-sheets": {
      "url": "https://n8n.iqbala.com/mcp/956436ea-2951-4608-bf1e-566c0e0fee0d"
    },
    "mcp-qdrant-search": {
      "url": "https://n8n.iqbala.com/mcp/b4285ed2-51a7-47a5-b0a7-ca0ee38ff7d6"
    }
  }
}
Save the configuration:
Nice! And now, enter a prompt to trigger it:
Prompt: Fetch data from Qdrant that matches “Bony Mountain”
LM Studio will pass the relevant search query to the server and receive the results, the same as when we tested it in n8n!
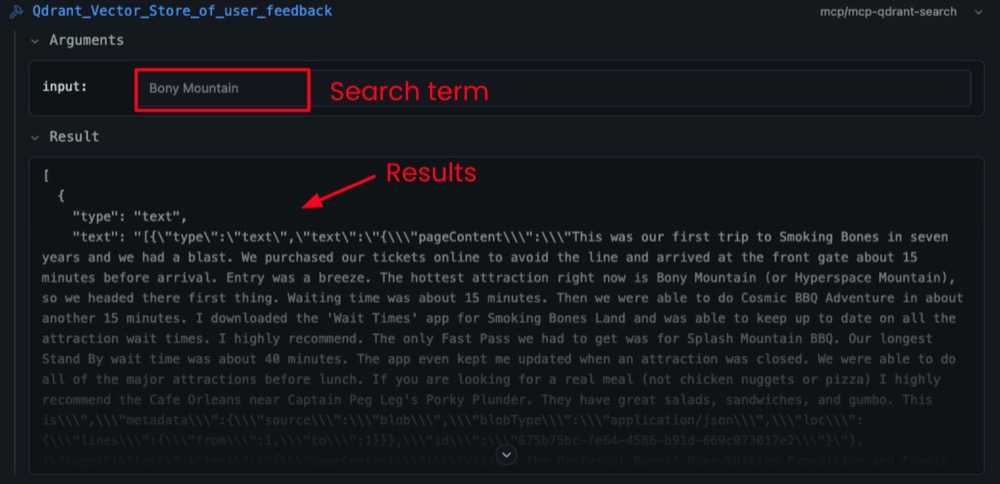
The results data will be available to use in your chat with AI.
What’s Next?
What we just did was a proof of concept. I wanted to show you how easy it is to set up custom MCP servers in n8n and create bespoke tools and workflows tailored to your unique requirements. This means we can connect to calendars, databases, and a wide range of APIs in these automations.
Basically, anything n8n can do is accessible via natural language in our chat interface, creating a melting pot of tools to supercharge our language models, making them much more capable and reliable. And what’s more, all this is local and private, and ethical!
So, the question is now: what are you going to build?
Editor’s note: This guide is part of a broader series on building practical AI systems. If you’re just getting started, we’d recommend our guides on getting started with AI automation in n8n, building your first AI agent, connecting Google Sheets to n8n, building RAG workflows with n8n and Qdrant, extracting themes from user feedback with n8n, quantifying themes with n8n, and connecting chat interfaces to other tools using MCP.

Written By
Iqbal Ali
Edited By
Carmen Apostu